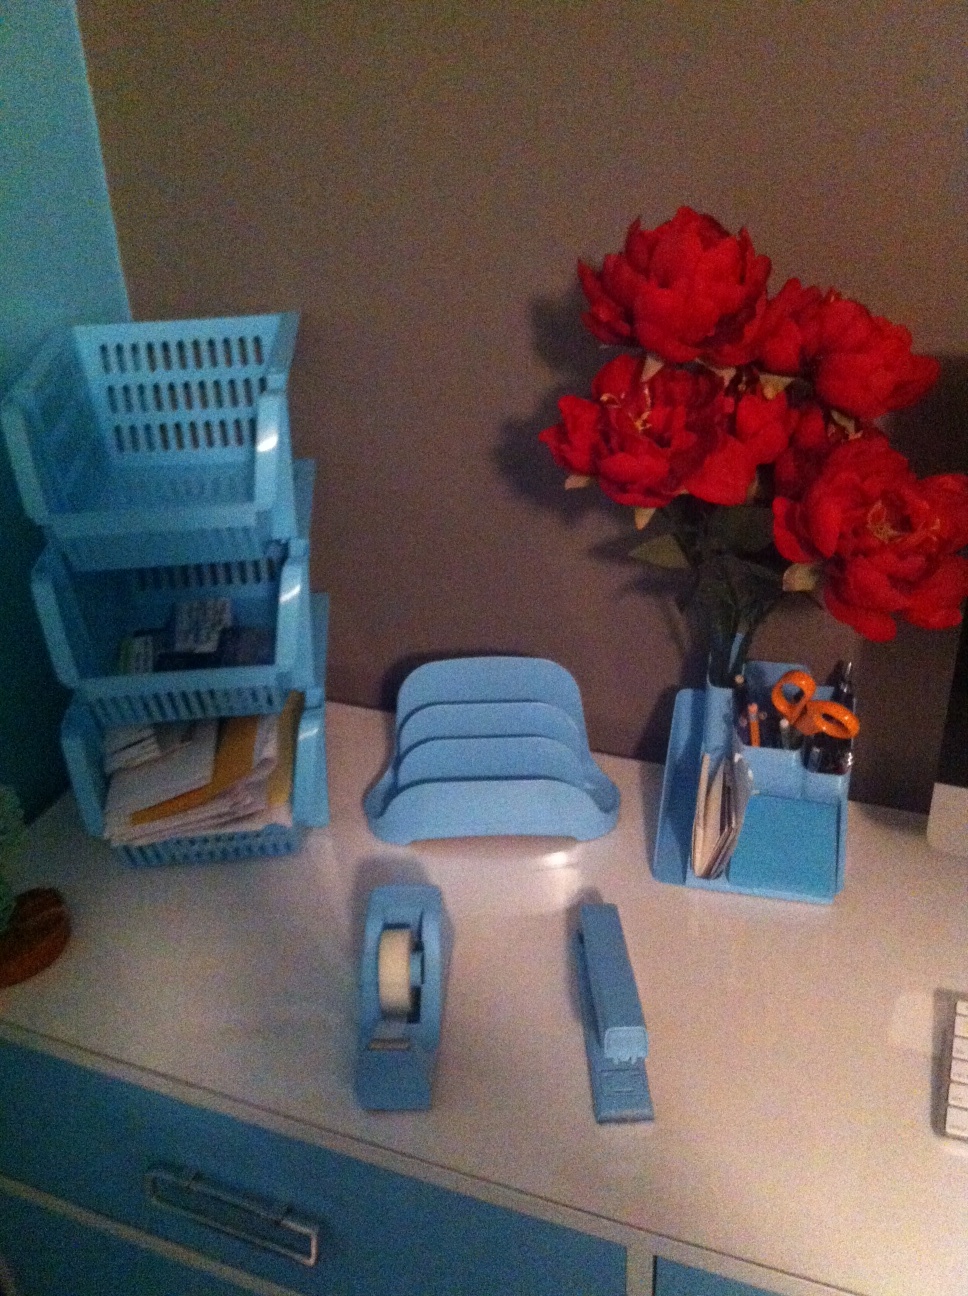
So right in there with the awesome new office color scheme mentioned in my previous post comes the new desk! This post got a little delayed due to the moving that happened but here it is anyway.
My current desk is a huge wooden thing with two filing cabinets on both side that collect junk. It was perfect in college when I needed space for drafting and laying out sketches and projects. Now that most of my sketching takes place in an 8.5×5.5 tablet I keep behind my computer there really isn’t a need for that much space. It just collects junk basically. Mostly half baked wedding ideas and old bills.
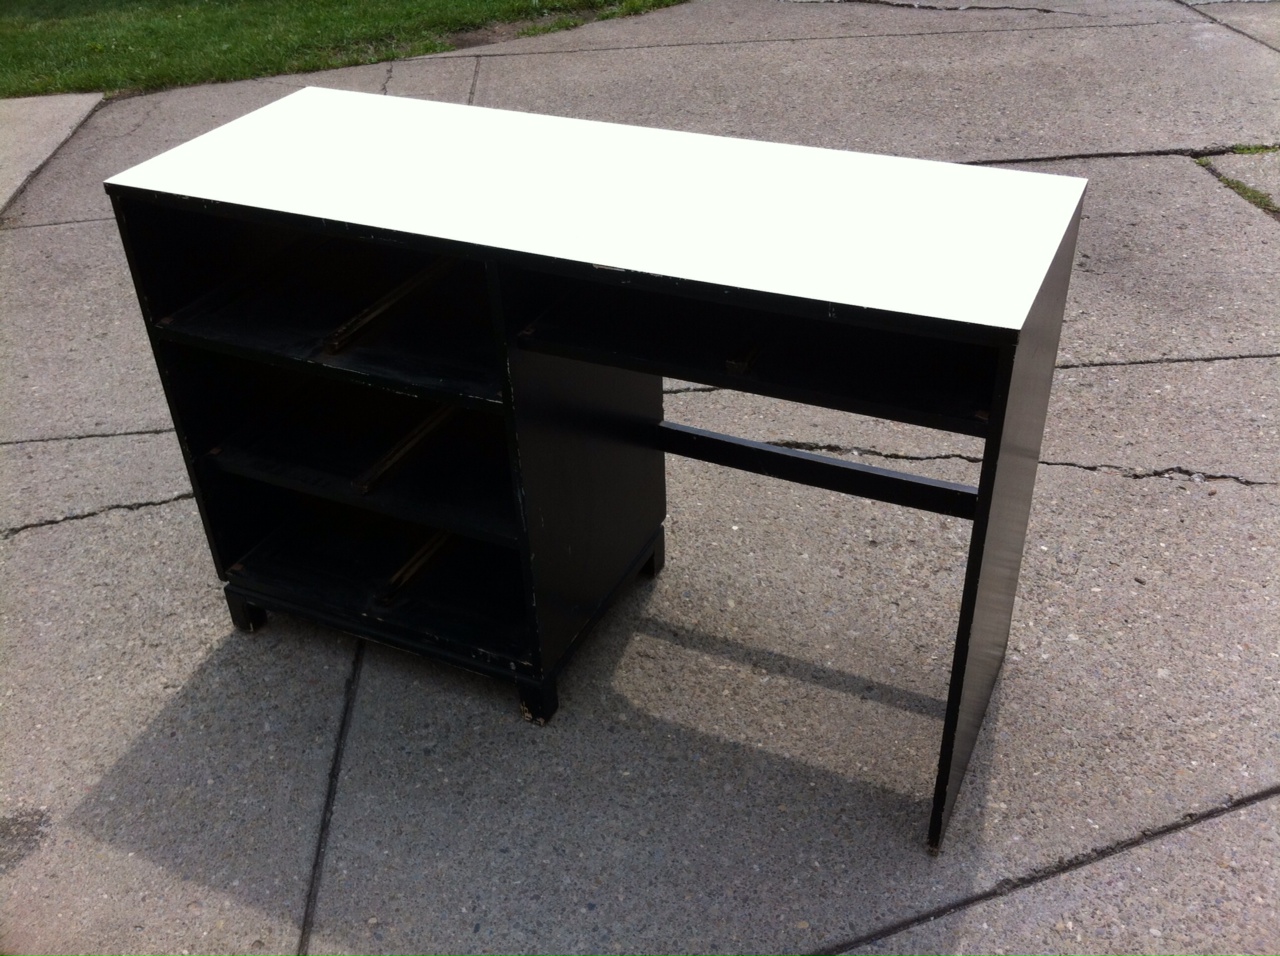
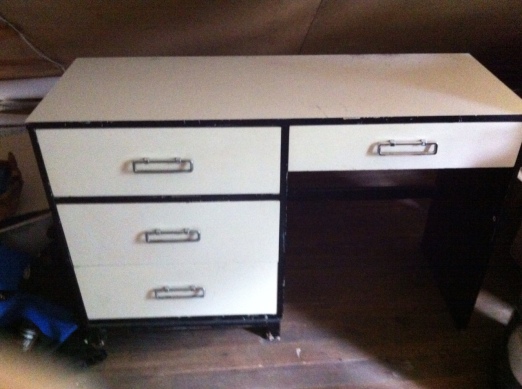
The replacement was an accidental gift from my future brother&sister-in-law. We happened to be over to at their house for dinner and he needed some help moving things for heavy trash day. He spotted the desk and asked if I wanted it. I said sure since I am always on the lookout for cool things I could use. It came home with us and immediately went into the attic, biding its time I’m sure. However it was everything I actually wanted in a desk. Our new house has three bedrooms, and we wanted to use the smallest one for our office. My current desk would eat that room alive and rob all the space. What a perfect time to renew and redo that awesome cast-off desk! Sure it has lots of scratches and some of the drawers are coming apart, but it can definitely be saved! After all this little guy has potential right?
STEP ONE: GATHER SUPPLIES! (Actually step one was wrestling it down from the attic to my driveway. Somehow I managed to do this solo and have since convinced myself that I am a superhero.) Since it too was going in the office my supplies were pretty much the same as for the filing cabinet. I bought the paint together. When I ran out of paint painting the drawers I added additional supplies, which I will get to, but the Satin Aqua Rustoleum spray paint was the same.
 STEP TWO: Remove all the drawers and gorilla glue the one that was coming apart. Removed all the drawer pulls from the drawers. Then the scrubbing commenced. Less grease for this project and more dust. There was a particularly nasty layer of grim inside the top drawer but it didn’t take forever to get out.
STEP THREE: SANDY SANDY DANDY. (Kidnap Mr. Sandy Claws? sorry…)
My mom was there for this step and helped me sand down the one side which was very helpful. My main concern for this sanding project was to remove the glossy layer from the desktop. Eventually we achieved this, but it was much more difficult than sanding the filing cabinet.
STEP FOUR: Primer ahoy! Started into my second can of primer for this one. There was a seriously layer of primer going down because we were trying to turn a black desk white. We primed everything and made sure to have the best coverage we could without overdoing it.
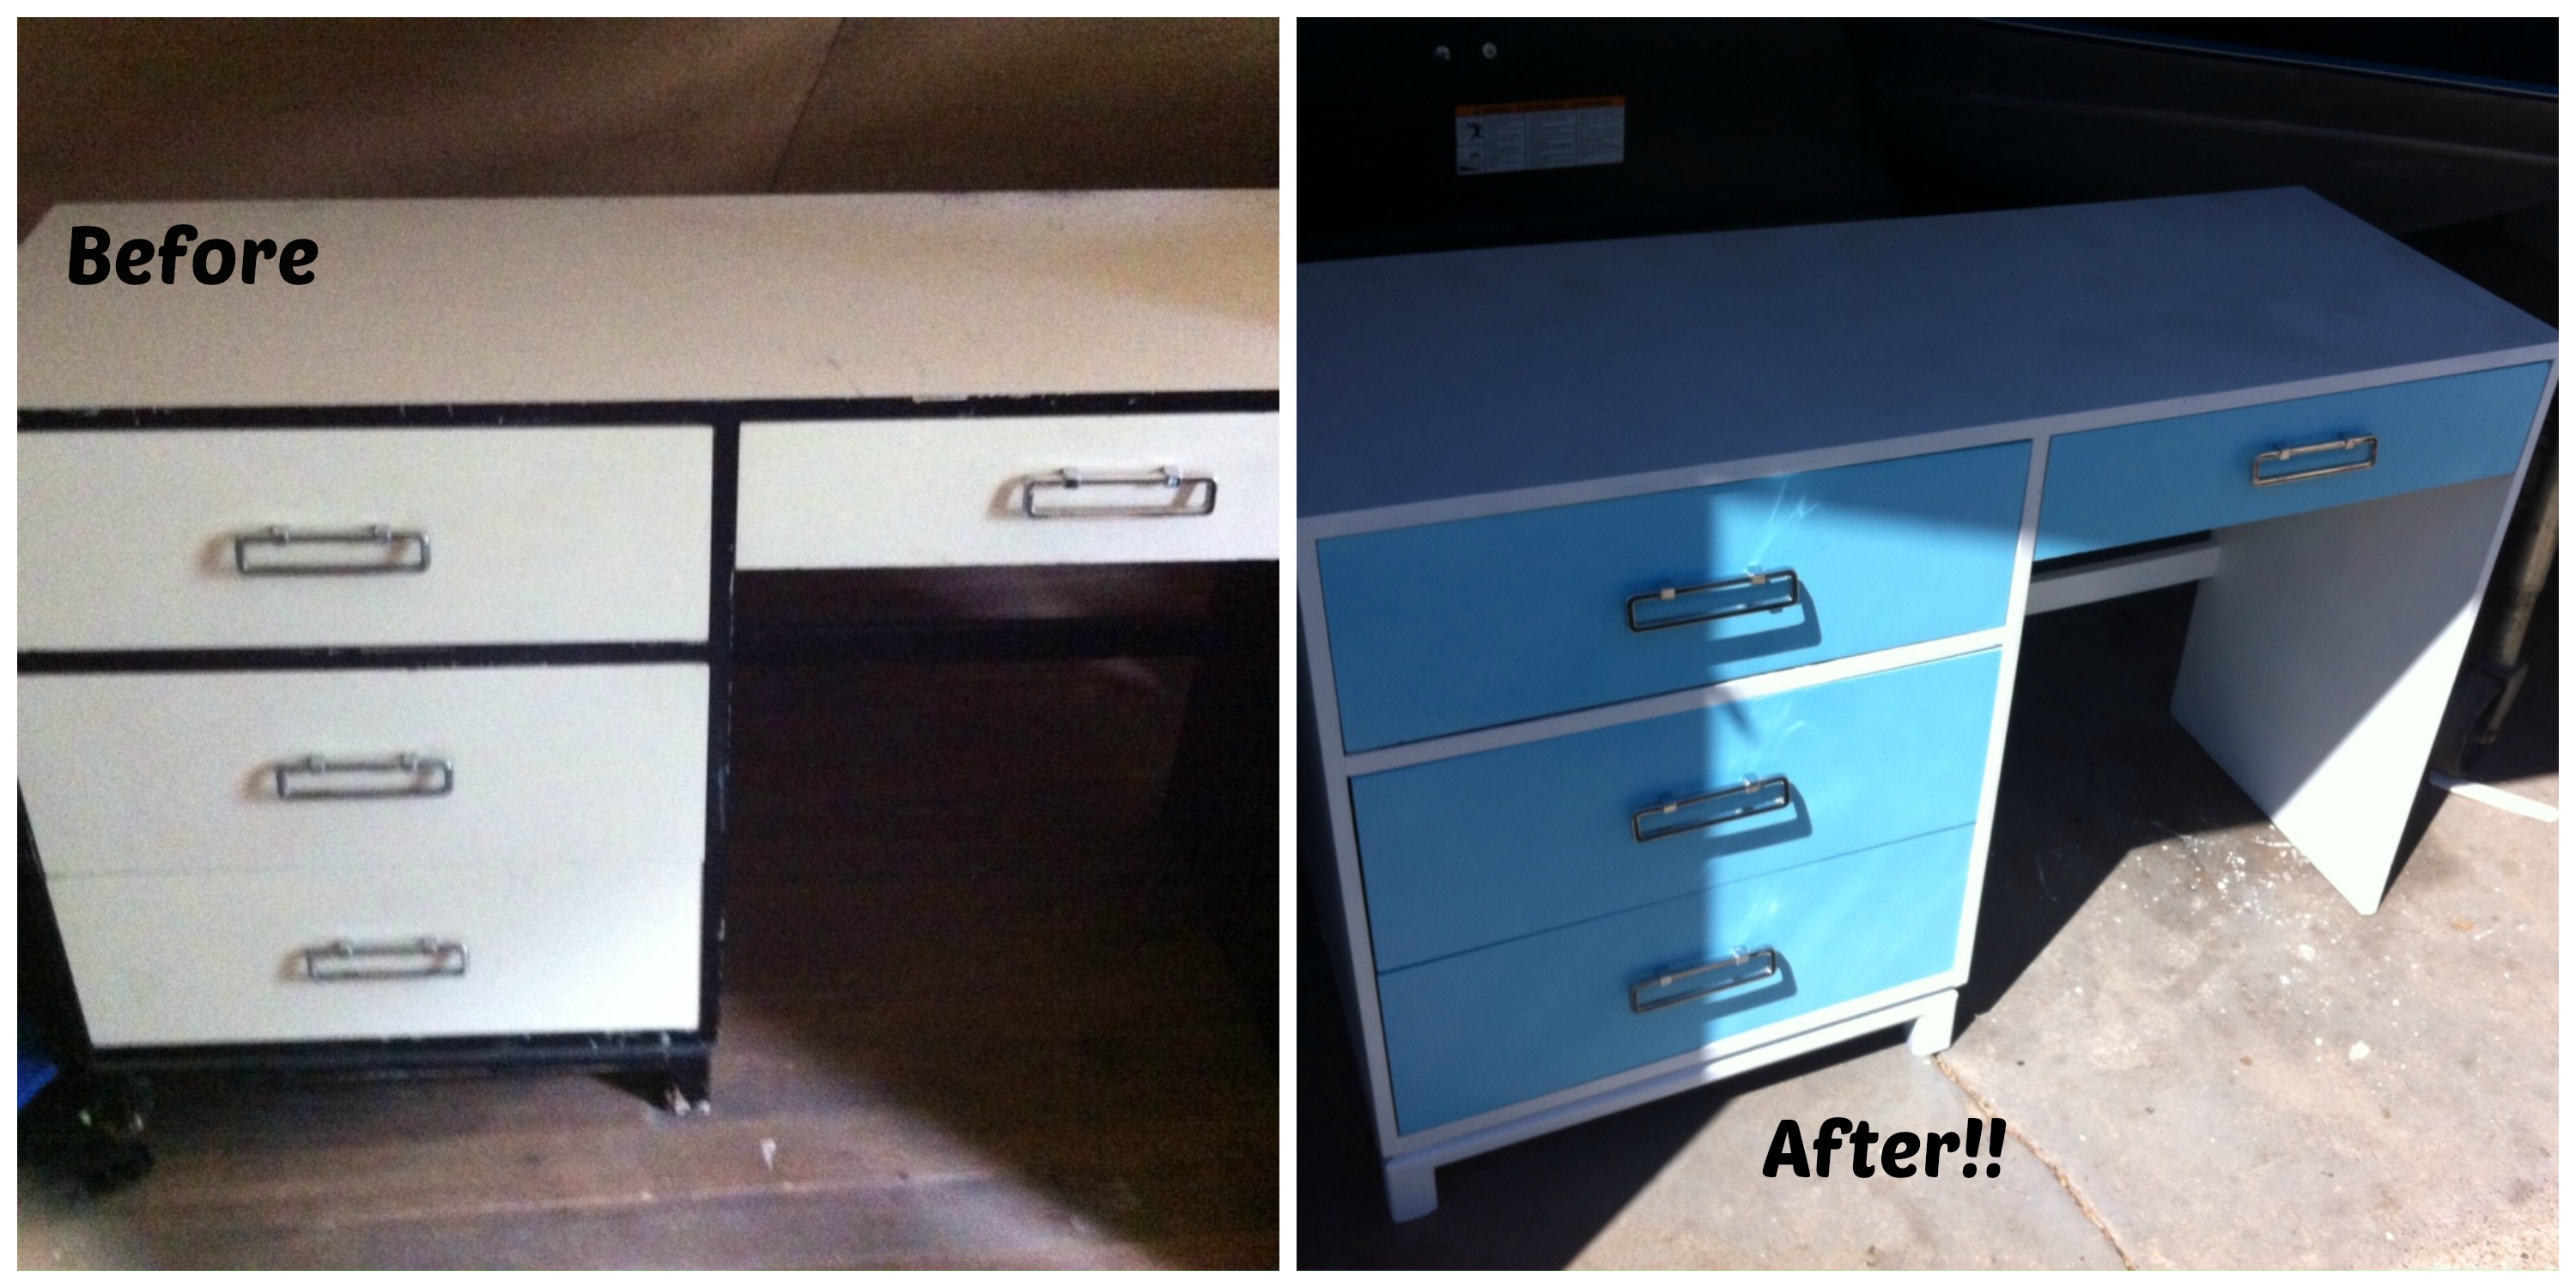
STEP FIVE-Part One: Painting time. The drawers were simple. Just spray them down. Two coats of the blue made them look all shiny and new. A neat tip for painting drawers is using painters tape to cover part of the top of the open drawer so you don’t spray into the actual drawer. This didn’t apply for this particular drawer but is good to know in the future.
STEP FIVE-Part Two: Painting the white portions of the desk. I sprayed down the side of the desk and it quickly became clear that the white spray was not going to cover everything. At least without a few extra cans. Enter Rustoleum Painter’s Touch Multipurpose brush on in semi-gloss white! I remembered this paint from my first DIY furniture attempt when I was in college (I painted a dresser out of absolutely necessity. It was a HIDEOUS thrift store find but big enough to fit all my clothes. Girls gotta do what a girls gotta do.) I picked up a can at Home Depot and grabbed some extra foam rollers for my mini foam roller.  I love it because for some projects it gives much better & more even coverage than a brush. Plus it comes with its own paint tray so I don’t have to keep dipping. Poured the paint in and started rolling. The coverage was nice and even and I applied two thin coats. I used a small foam brush to get in the corners and tight spaces. After the second coat was partially dry I realized I really wasn’t happy with the coverage in the corners. There were still gaps that the brush couldn’t get in to. So I tried something a little unusual. I used my white spray paint to spray paint the small corners I couldn’t get at. I wouldn’t recommend trying this with two different brand but because Rustoleum is so awesome, it turned out great. There was no division from where I sprayed to where I rolled. The results were awesome, just seamless coverage.
STEP SIX (kinda): Logically step six would have been putting a top coat on the desktop to prevent from scratches and chips. Luckily I had a piece of plexi-glass available that was able to be cut to the perfect size. PERFECT! I put the drawer pulls back on and had a beautiful new desk!
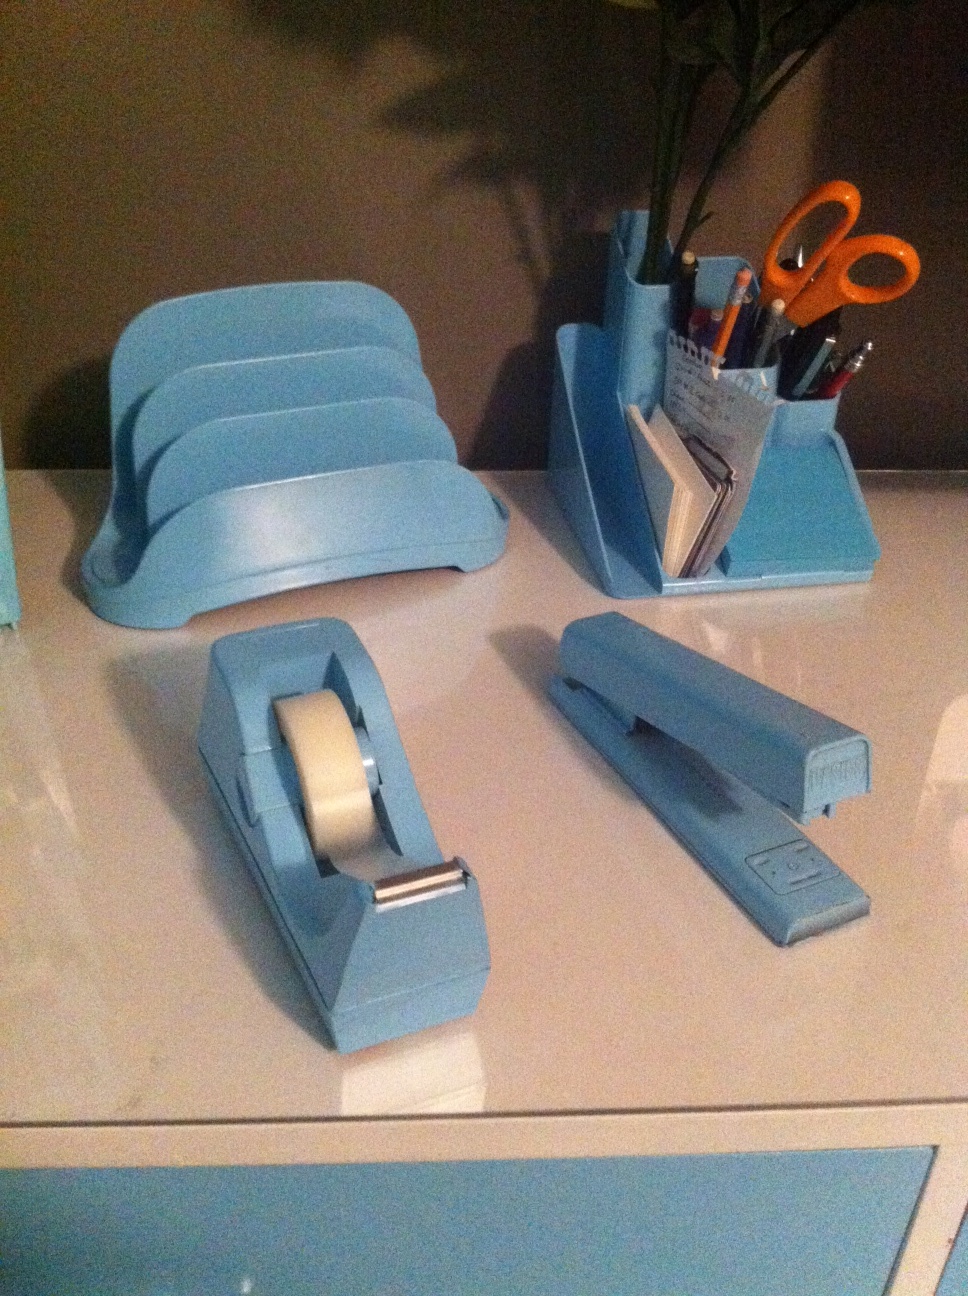
Moved it in the garage because it was starting to rain so here are the finished pics.


Estimated cost? About $22 for all the paint and supplies. Not to shabby right? Now wait until you see what I did with the leftover Aqua spray paint…….

Like it? Pin the love!